How to add a recipient?
How to create a payroll?
How to create an invoice and add clients?
How to add a worker?
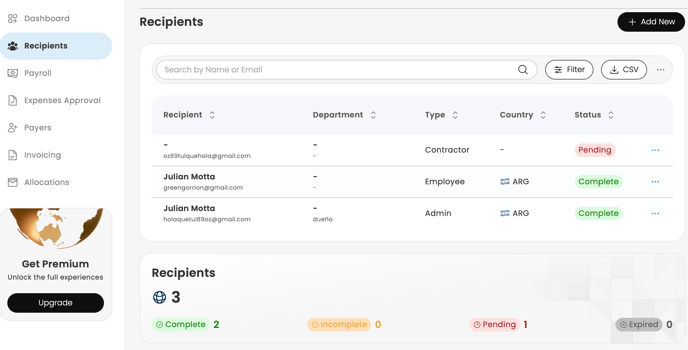
To add an employee or a contractor, click on the Recipients section in your Bitwage BUSINESS dashboard.
Click on the button on the right that says "+Add New" to send individual or multiple invitations and specify Recipient Type - Employee, Contractor or Admin.
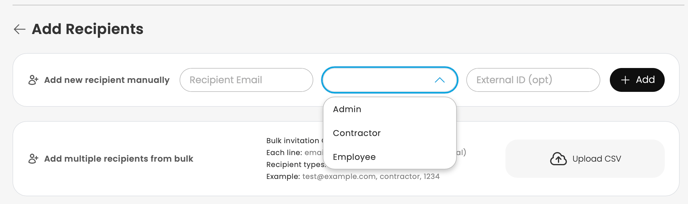
You can also send invitations to multiple users at once by uploading a file containing their email addresses. Simply click on "Upload CSV" to do this.
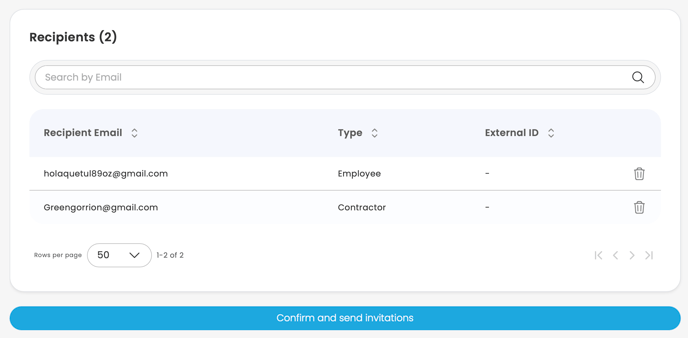
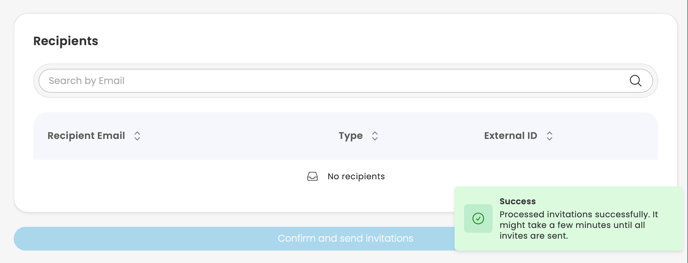
Once you have uploaded the information, the users will be added to your list, whether individually or in bulk.
Here is a tutorial on setting up allocations that you can share with your employees.
How to create a payroll?
To manually create a payroll, click on "Payroll" and then select "+Create New." You will have the option to set it up as a one-time payment or as a recurring payroll.
Once you have done that, you need to select the currency in which you will send the payment.

You can also upload a CSV file to process multiple payments at once or to pay an invoice or expense that will require approval accordingly.
Enter the amount for each worker in the designated box, and you will then be presented with the available financing options.
You can choose your preferred payment method to make the payments.
Financing Options:
Click to select and confirm your preferred payment method to access the required payment details. Please note that credit and debit card funding via ACH is only enabled after you have established a payment history on the platform, making it available exclusively to existing companies.
Your order will be displayed as Created, and you can track its status from start to finish by checking the following updates.
The payroll will be marked as "Received" once the funds reach Bitwage.
The status will change to "Approved," indicated in green, after the payments have been processed, which typically occurs on the same day for companies subscribed to Bitwage Premium.
Finally, workers will have access to their funds in their allocations, and the payroll will then be marked as "Fulfilled."
NOTE: For inquiries regarding cryptocurrency funding, please send us a private message to our support email at support@bitwage.com
How to create an invoice and add clients?
Step 1: Access the Invoicing Section
Once you are logged into your Bitwage account, navigate to the menu and look for the option labeled "Invoicing." Click on "Create New" to get started.
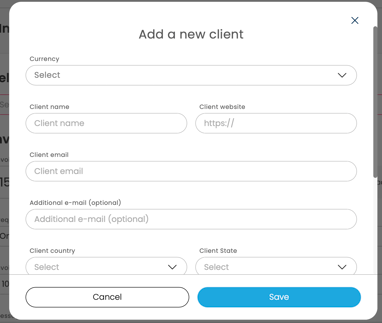
Step 2: Select the Client

Step 3: Payment Details
- Important Information
On your invoice include the description of the service or product, the quantity, and the value. This step is crucial for ensuring that your client understands exactly what they are paying for.
Step 4: Bank Details
- To receive your payment:
Once you have filled in the required information, you will see your bank details at the bottom left of the invoice.
These are the details you need to provide to your client for them to deposit the funds into Bitwage.
Step 5: Finalize the Invoice
- Almost there!
After reviewing to ensure everything is correct, click on "Create Invoice". Now, all that's left is to wait for your client to make the deposit. If you have any doubts about this step, feel free to ask us.
Information on Payment Timings
- How Long Does it Take?
If you are curious about the time it takes for payments to reach Bitwage, simply click on this LINK. And if you have any specific questions, remember that we are here to assist you.